

- Paper or cloth for the background
- Hammers (one for each person who wants to pound if possible!)
- A hard flat surface (that won’t be damaged by hammering on top of it)
- A basket (to hold the flowers you gather)
- Scissors (to help remove stems and pick flowers)
- A small scrap piece of cotton fabric (to lay on top of your flowers while you pound) We used an old scrap of a threadbare sheet. You can also use tissue paper or paper towels in a pinch, but the fabric will hold up better to repeated pounding with the hammer.
- Flowers and leaves!!! (Flat open faced flowers work the best. Pansies and yellow daisies are my favorites. You can experiment with all types and colors of flowers; you might be surprised at what works and what doesn’t. Fern leaves are also beautiful to use in this craft. Colorful fall leaves look gorgeous when pounded too.
- Pencils, markers, crayons, etc. (to draw and write in your cards)


Make sure you take time to smell the flowers and enjoy being in the sunshine with your precious little ones. Enjoy the feel of the dew wet grass tickling your toes. I always try to remember that I will have these sweet boys under my care for such a short period of time, there is so much fun and learning that I want to share with them before they grow and start families of their own! I want them to have happy memories of their childhood that they will want to recreate someday with their own children.

Once you have a bunch of pretty flowers gathered in your basket you can set to work.

If you are making cards like we did, then you’ll need to fold your paper in half and decide which side you want up and how the card should open. Then lay your paper our flat and carefully place a flower face down in whatever position pleases you the best. If the flower you’ve chosen has a large stem on the back or a very juicy part where it connects to the stem you may want to carefully cut that piece off. I find it easiest to do this by laying the flower where I want it and holding it’s petals in place with my left hand and carefully cutting the juicy part off with scissors in my right hand.


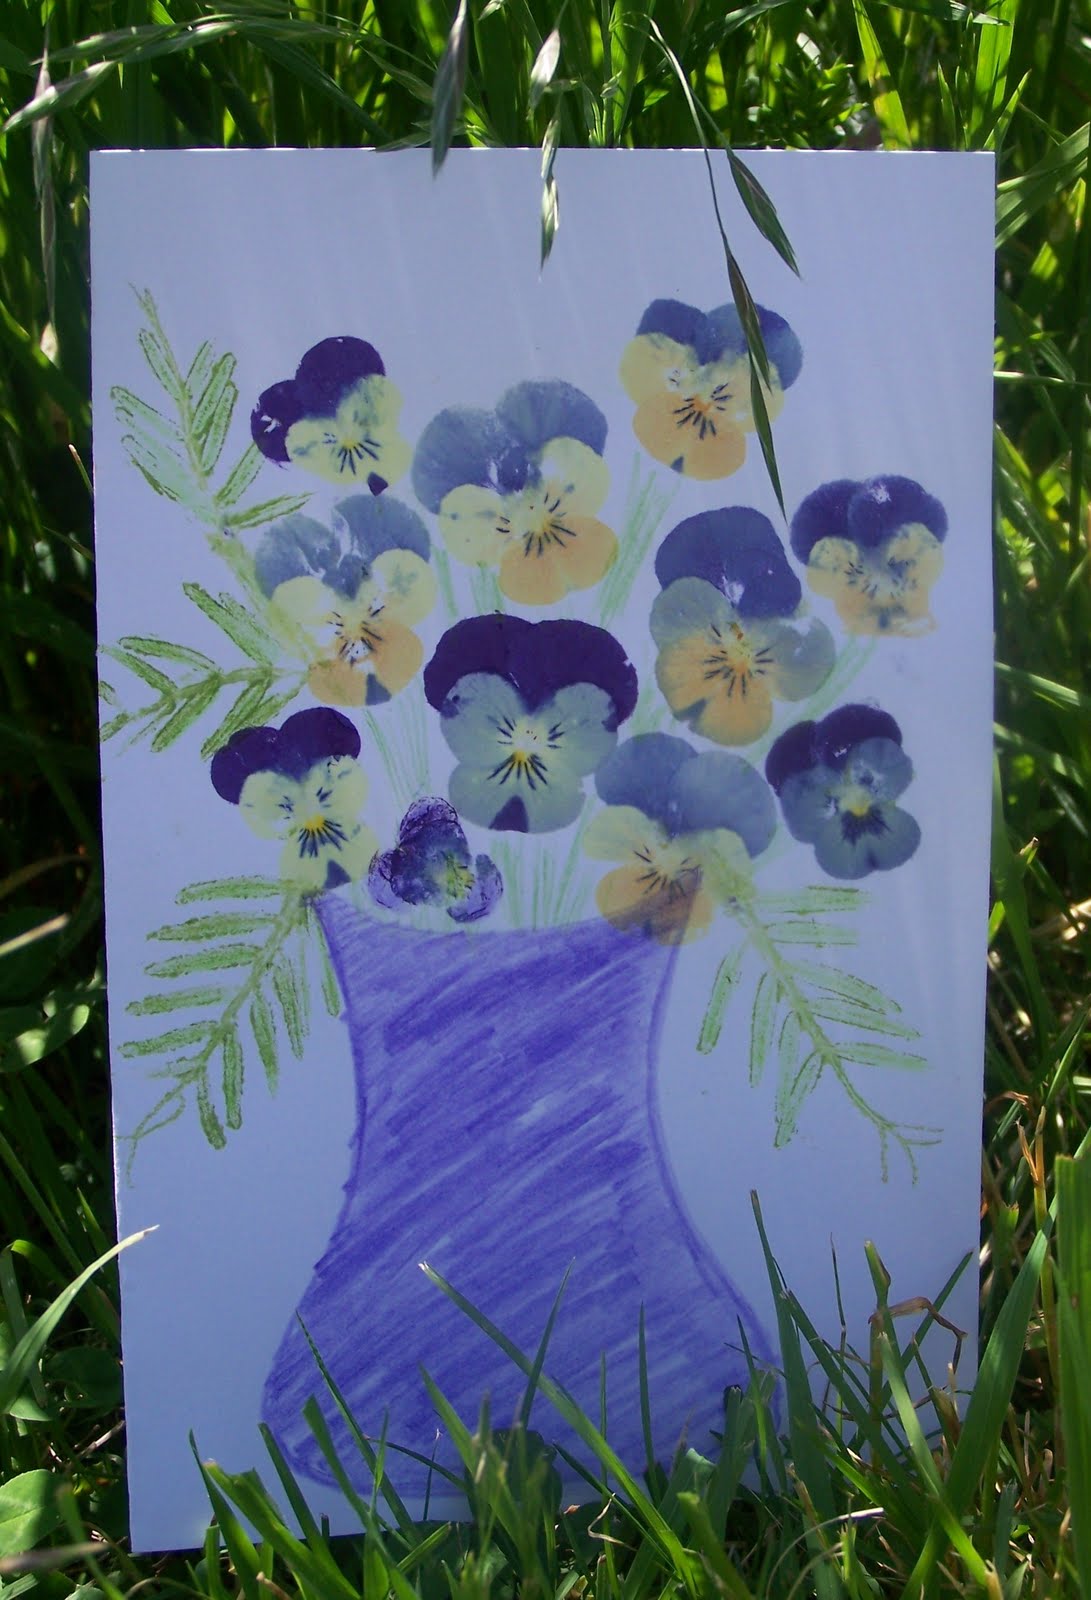
And there you have it! Your flower should have transferred all of its pretty color onto your paper. Continue adding more flowers and leaves to your art until you are pleased with the outcome! You can add stems to your flowers by pounding or drawing them on with colored pencils. This craft is as much fun in the making as it is enjoying the final product!


Oh wow... this is stunning!!! We'll be doing this for sure... never knew you could do that!! Thanks so much for sharing on Friday's Nature Table. Blessings and magic,
ReplyDeleteDonni
I've not seen this before. The results look amazing. We are adding this to our list for the weekend. Thanks for sharing.
ReplyDeleteWhat a lovely idea, and how attractive they look, cheers Marie
ReplyDeleteThey look beautiful. Great idea!
ReplyDeleteHow beautiful!
ReplyDeleteJust wanted to let you know that I had a go at this today. I found that not all flowers are as suitable as others! I found pansies the best. Thank you for sharing this technique.
ReplyDeleteThank you so much for the wonderful tutorial! I did this a couple years ago, and I think I may have to get out the idea again! Thanks again!
ReplyDeleteTia
This is an amazing idea!
ReplyDeleteThank you so much for sharing. I love making home-made cards with the kids as all our families are overseas so we are always looking for new ideas!
What a great idea! I shared a link to this on my blog, RosieDreams, since I think a lot my readers will enjoy this as the flowers finally die back and autumn arrives. Thanks!
ReplyDelete(http://rosiedreams.com/a-few-good-reads/)