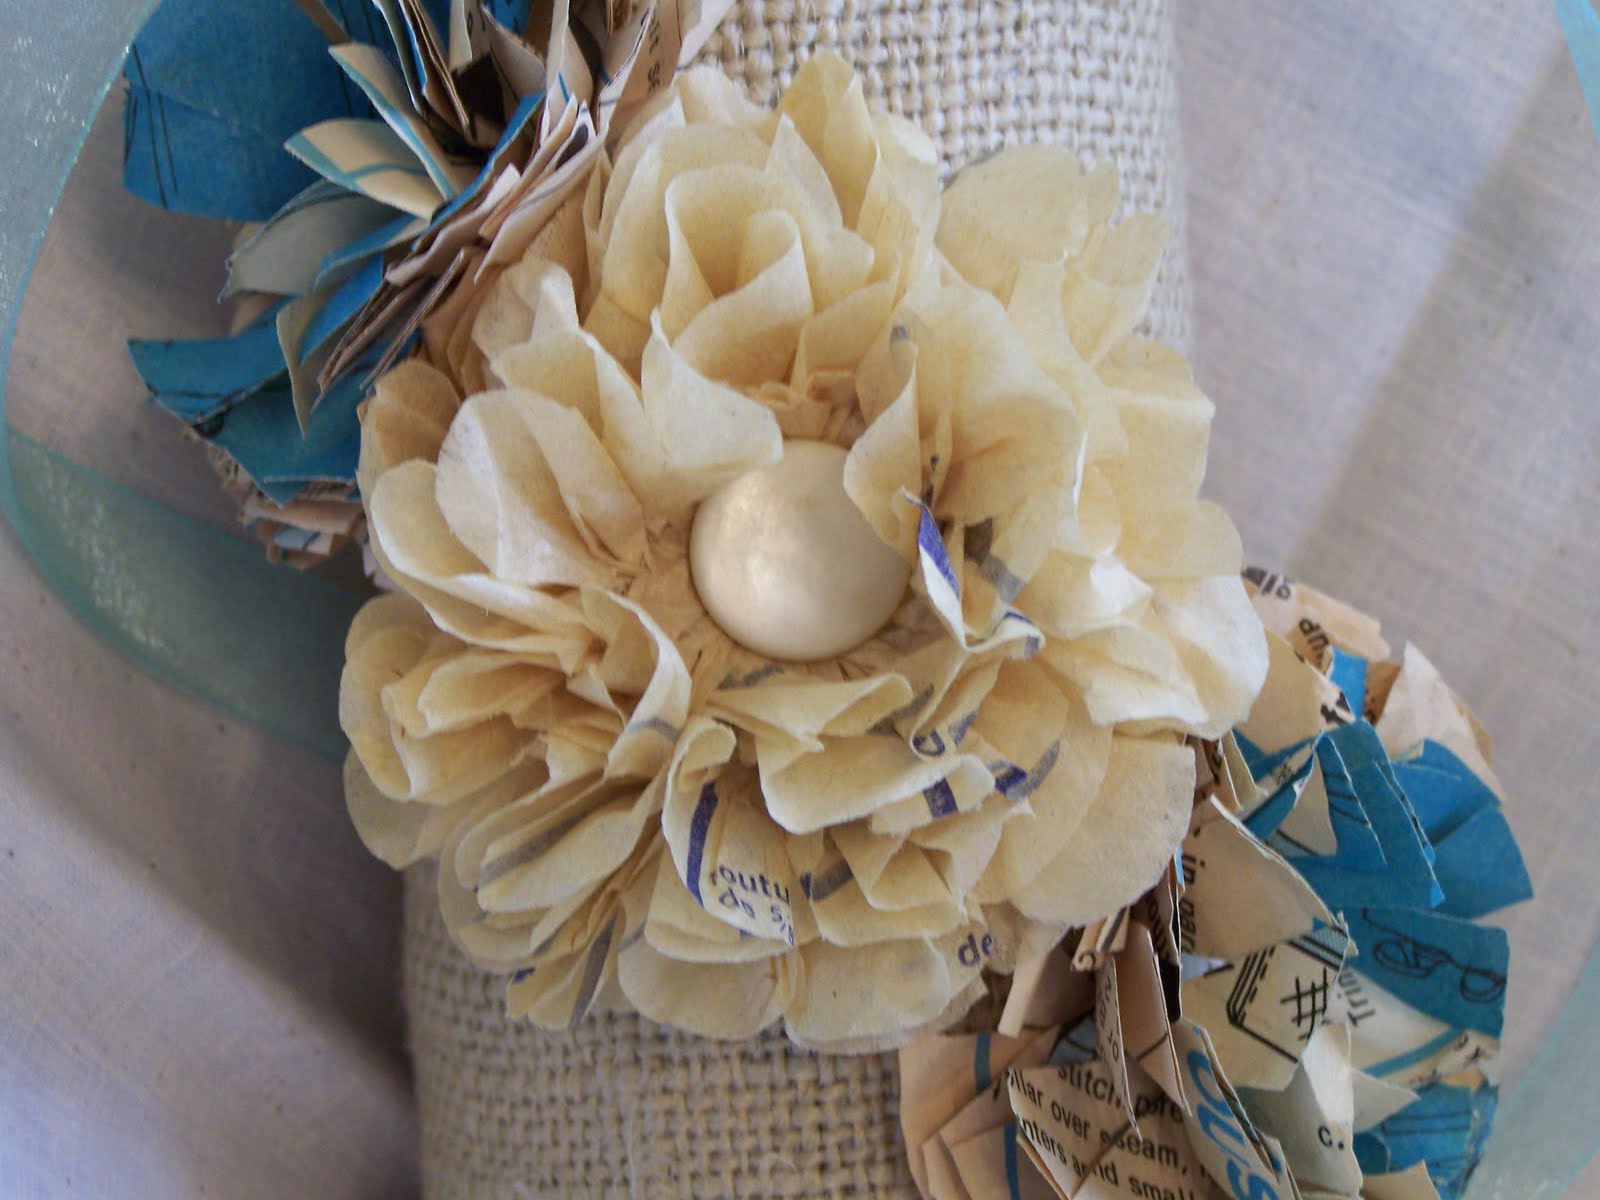
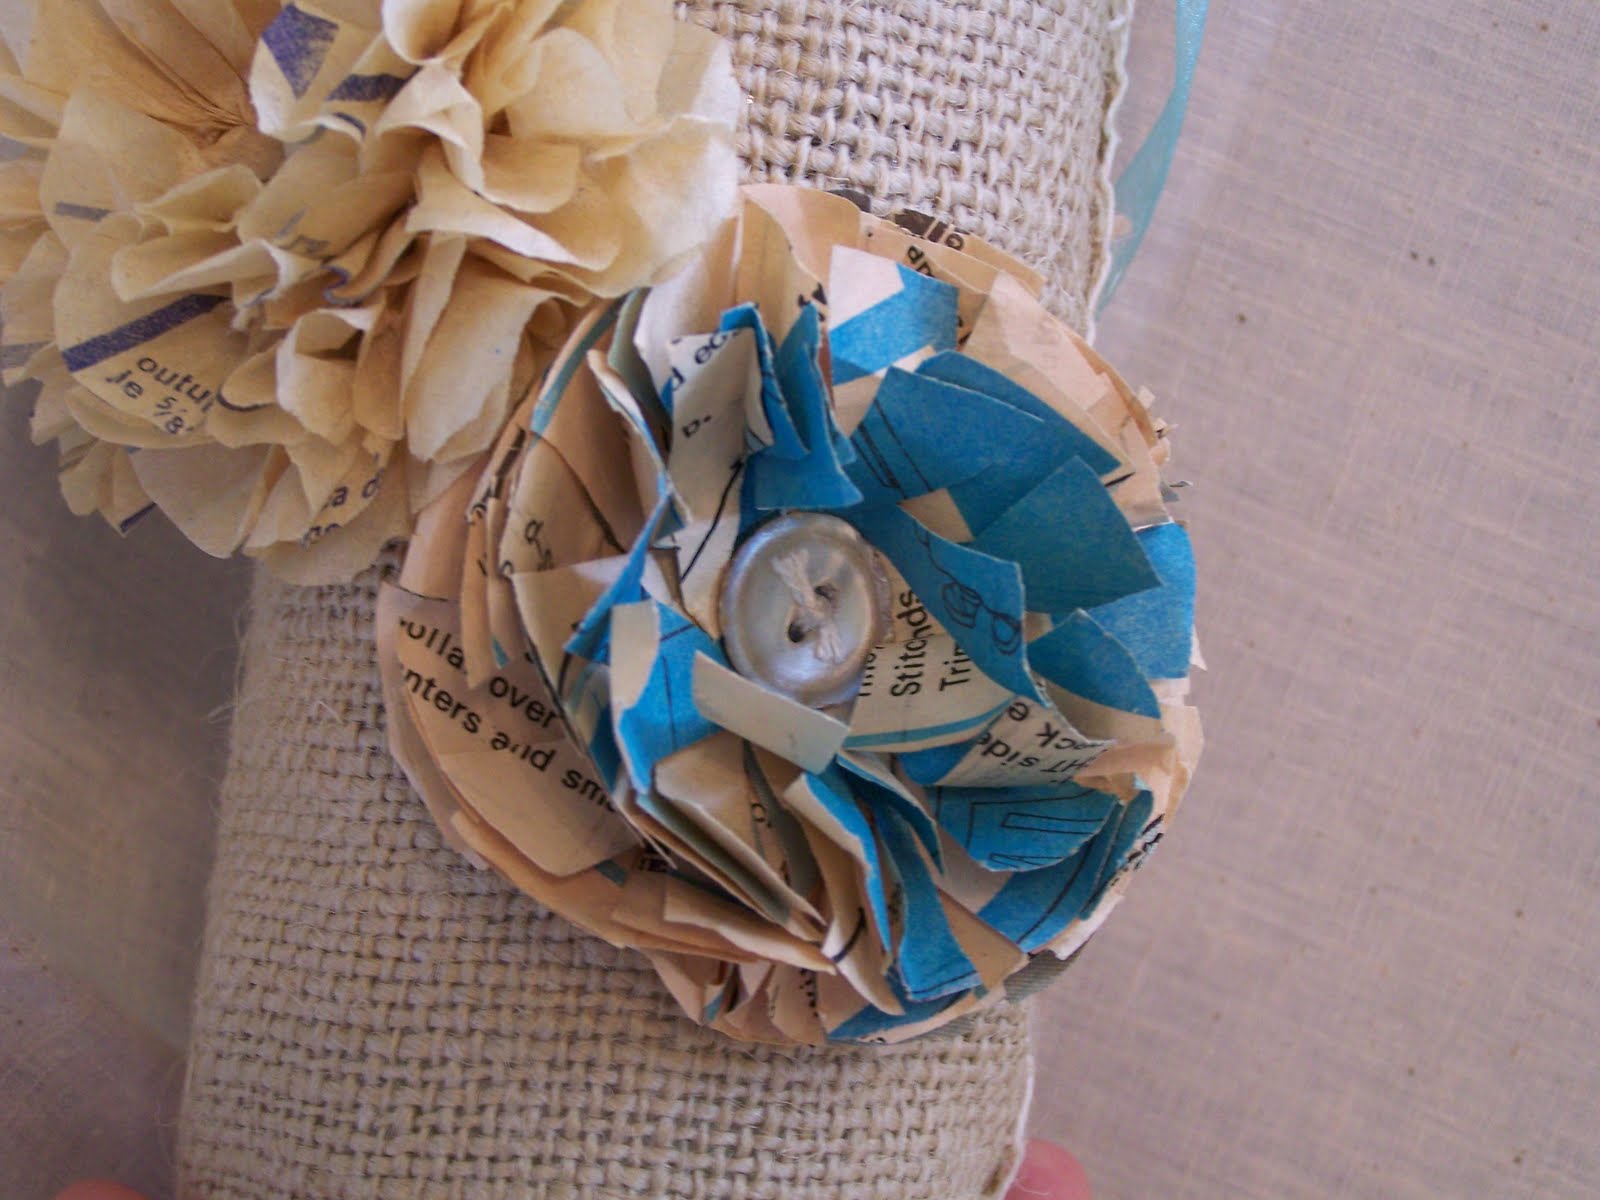
Yesterday was my sweet Mom's birthday! (Happy Birthday Mom!) And I made some cute paper flowers to adorn the top of her presents. Since Mom loves sewing and crafting and all things vintage, I thought what better way to wrap her presents than with a vintage sewing pattern! (Now for all of you seamstresses out there who just can't bear the thought of using one of those adorable patterns as gift wrap... I assure you, the pattern I used was AWFUL (and incomplete)! No woman, (at least no woman I am aware of!) would actually wear one of these things... totally weird and impractical, but it had pretty colors on the paper sleeve.

You, of course could use any paper to do this, something like the Sunday comics from the newspaper might be cute... or I've used the security envelopes that come in the mail with the bills... the inside of the envelopes has pretty blue and grey designs! Regular newsprint and brown paper bags also make pretty flowers. Pretty much anything made out of paper would work. I'm all about recycling (is that upcycling?) all of that paper that always seems to be floating around our lives into something cute or useful (side note: if it is cute doesn't that make it useful??? it should! But that is probably where my overly stuffed house comes from, the belief that if it is cute it must be useful! *note to self ~ just because it is cute does not mean it should be made and kept or brought home and stuffed somewhere into this already over-crowded house.*) Sorry, back to the how-to...
For this project you'll need the following:
- Paper
- Scissors
- Stapler
- buttons (I used vintage shell buttons for the centers of my flowers, you can also use paper brads or small pompoms or anything else you think might look pretty in the middle of your flower but I like my little old buttons!)
- glue
First you need to decide how big you want your flowers to be. Then fold or stack your paper as you'll need at least 6 thicknesses of paper for each flower. ( I used the pattern's paper sleeve and the instruction pages which are already folded and about 8 or 10 layers of paper deep. The more layers of paper the more three dimensional your flowers will be. Once your paper is stacked or folded thick enough you'll need to cut out the flower shape. To do this I just "eyeball" it, and cut out a circle. It does not have to be even a little bit exact, you'll never notice if your circle is wonky by the time the flower is done.
Next you'll need to cut petal shapes into your flower. To do this cut straight little spokes in towards the center *important~ do not cut all the way into the center of your stack of flower circles! The middle of the flower is where you'll need to staple it in a minute!*
Next separate your stack of cut little circles like this:
This will help make your final flower extra fluffy! If your paper isn't one sided you can even flip a few of your circles over. The idea is to make sure your little petals do not realign exactly! After you have your pile of cut circles re-stacked staple them in the middle. I usually make an X with 2 staples just to hold it really securely. Then hold the flat flower in the palm of your hand and squish it all up! No really, You want to squish it and wrinkle your little petals all up towards the center of the flower. It will look something like this now:
From here you can fluff up the petals and separate them. Then it is time to embellish the center of the flower. I like to choose pretty little buttons to match the paper. Simply glue a button to the center of the flower and Ta-Da you're done! You can add these flowers to just about anything! They are sure to perk up your next gift.
Isn't this pretty?! I used a vintage sewing pattern instruction sheet to wrap it, and the bow is vintage seam binding lace (I lucked out at a garage sale a few months back and found a ton of pretty vintage sewing notions for next to nothing!) and the little pale green seam binding label I used as a gift tag.
Tomorrow I'll try to post a tutorial for making another kind of sewing pattern flower that I also like to use for gift wrapping and decorating. Super easy and very pretty! Here is a teaser so you can see what they'll be like: