Saturday, August 17, 2013

Comet throwing toy tutorial

I just found this post as a draft from a little tutorial for Comets that I made up last summer for the girls over at the blog Twig and Toadstool. I realized that I had never posted it here...so here you go!

Today I wanted to share with you an easy little tutorial on how to make Comets! Comets are really simple throwing toys that are a lot of fun for all ages!

To start with you'll need the following supplies:

  • A small rectangle of fabric (mine is about 12 inches by 6 inches or 30cm by 15 cm)
  • thread 
  • needle for sewing or a sewing machine
  • ribbons (4 or 5 ribbons about a yard or meter long each)
  • Comet filling (I used popcorn, dry rice or beans also work well!)
  • adhesive tape or straight pins


 Now lets get started! Take your rectangle of fabric and fold it in half with the right sides together:


 Then take your ribbons placing them as I did in the picture below and fasten them. I used tape because it was what I had on hand...


Fold the comet back in half, remember to make sure the pretty side of your fabric is on the inside! and that the ribbons stick out past the end (in the picture below the are going to be sewn in on the left hand side of the rectangle). See the faint marker lines I made to show you where to sew? Leave the long tails coming out of the other end of the fabric(on the right hand side in the picture below). You aren't sewing that side shut yet because you'll need to turn the comet right side out when you've sewn it and then you'll need the opening there to fill it!

 Here is our comet sewn together on two sides. Where the ribbons are I sewed over that seam 3 times since it is going to get a lot pulling and tugging and I wanted to be sure everything was secure!


Turn the comet right side out and fill with your popcorn (or rice, or beans...)

Once it is filled (loosely so you can still have room to sew it shut easily.) fold over the top to the inside as shown in the picture below:


Pinch the sides neatly together and sew it up. I just top-stitched across the top with my sewing machine...


Yippee!! Your comet is finished and ready for play!

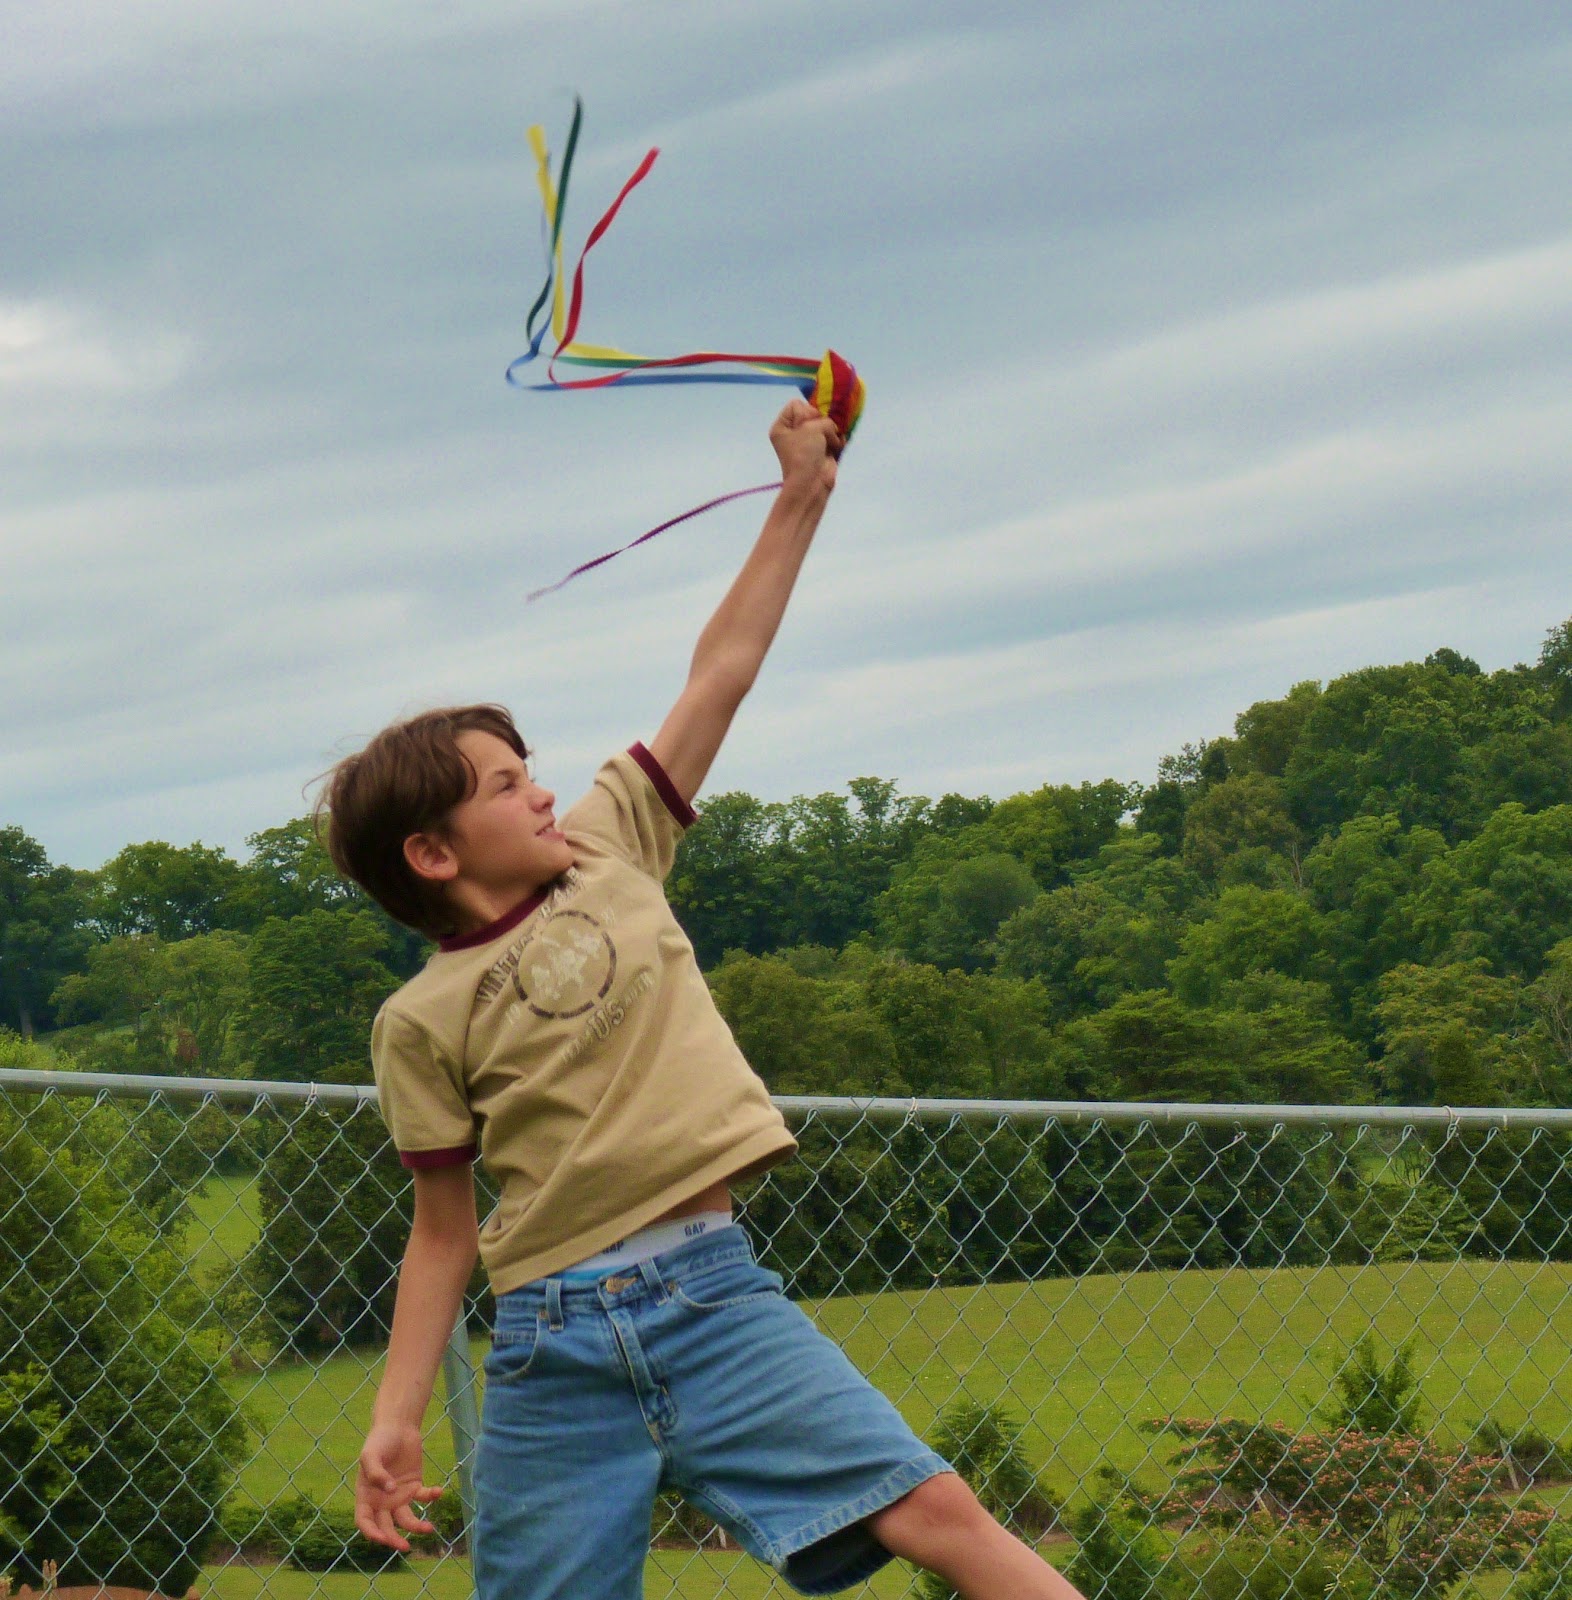
Now for some fun, grab a few kids and head outside to play with your new toy. Children love playing with comets. They are very easy to throw. The long ribbon tails are perfect for holding on to and swinging around before launching your comet.
 They are also easy to catch. They are feel soft and very little children can learn to catch with them easily because of their long ribbon tails, plus they won't bounce or roll away if they do hit the ground...


And especially important: the ribbons look really pretty fluttering through the air while the comet sails on it's way!


They really are fun for all ages!


Friday, August 16, 2013

The caterpillar and the "bugito"


Claire found a pretty green caterpillar yesterday and brought it up to the porch to show me. She sat with her caterpillar for nearly an hour watching it crawl over her hands. Finally we decided that it would be best to go put it back on it's tree because it was probably getting hungry. 

A few minutes later Emmett arrived with a Cicada's exoskeleton. We've told him over and over that they are called cicadas, which he repeats after us, enunciating very carefully, and then promptly forgets. But last night he got confused and told me it was a "bugito" when I asked him what he had found. He was very proud of his bugito and showed it to everyone in the family. I am pretty sure he was trying to say mosquito, since both he and Claire tend to call mosquitoes "buskitos".  I think bugito works for now! 

Wednesday, August 14, 2013

The first gift for the sixth babe


A month or two ago before I even knew the sex of this baby I asked my friend Sarah a question about yarn, rainbow-y yarn actually.  I wanted to make a blanket that looked like a rainbow. I wasn't sure what kind of yarn to look for to get the effect that I wanted. So I described what I wanted my finished blanket to look like and asked if she knew what I needed to look for to get it.

She emailed me back and said Yes! She did know what it was I needed to look for in a yarn, and described exactly what to look for. Even better, then she told me that she would love to dye and spin some for me, since rainbows are her favorite. She said it could be my baby shower gift from her! I couldn't think of a better thing to ask for for a baby shower, at all, so I agreed very happily!

She dyed the roving (100% merino) and started spinning. I caught glimpses of it on her blog, it was so exciting to watch it taking shape. Then about a week ago we finally were able to get together for a little visit. I gave one of her daughters the doll I had made and she gave me the finished yarn. It was gorgeous! So soft and springy feeling and such vibrant pretty colors, just what I had envisioned!

So I have begun to knit a very simple garter stitch baby blanket for my sixth babe, who we now know to be a sweet little girl. The yarn feels so nice to work with, and it is knitting up really quickly, and being only garter stitch is really nice. With as many interruptions as I have at any given time (I did mention this is the SIXTH baby right??) I need something very easy and mindless to work on, otherwise I'd never be able to get it done before the baby is here and needs it. One purple section and most of an aqua section are all I've managed in short bursts here and there over the past two days, but I am pretty confident that I'll be able to get it done before cold weather sets in and this tiny new girl arrives, she's due in November!

Linking up with the Yarn Along.

P.S. Sarah has a great etsy shop where she sells her art yarns, be sure to check it out!
Related Posts with Thumbnails